[ newsletter ]
Stay ahead of Web3 threats—subscribe to our newsletter for the latest in blockchain security insights and updates.
Thank you! Your submission has been received!
Oops! Something went wrong. Please try again.
Learn about the sniffer test: its purpose, procedure, equipment, tracer gases, advantages, limitations, and best practices for accurate leak detection.


Ever wondered how manufacturers make sure things like your car's AC or a medical device don't have tiny leaks? Often, they use something called a sniffer test. It sounds a bit like something out of a spy movie, but it's actually a really practical way to find leaks. This method uses a special gas to help pinpoint exactly where something might be letting air or fluids escape. We're going to break down what this test is all about, what you need to do it, and where you'll see it used.
So, what exactly is this 'sniffer test' everyone's talking about in leak detection? Basically, it's a way to find holes in things, from car parts to medical devices, by using a special gas. You pressurize the item you're testing with a gas, and then you use a detector, kind of like a wand, to sniff around for where that gas is escaping. The main goal is to pinpoint the exact spot of a leak so it can be fixed. It's a pretty straightforward idea, but getting it right involves a few key steps and understanding how it all works.
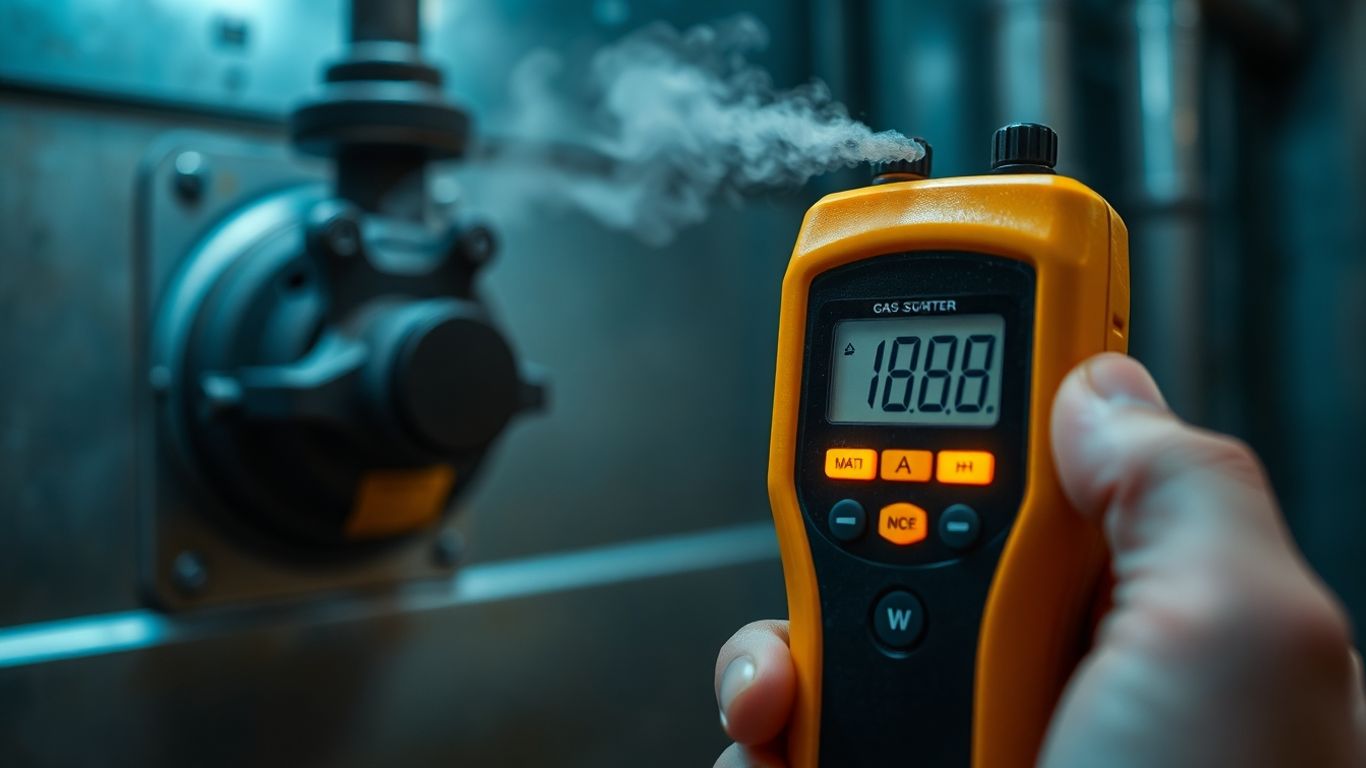
A sniffer test, also known as tracer gas leak detection, is a method used to find leaks in sealed systems or components. The process involves introducing a specific gas, called a tracer gas, into the part being tested. This gas is usually put under a bit more pressure than the surrounding environment. Then, a handheld detector, the 'sniffer probe', is moved over the surface of the part. This probe is connected to an instrument that can sense the tracer gas. When the probe gets close to a leak, it picks up the escaping tracer gas, and the instrument signals that a leak has been found. It's a direct way to find where the problem is.
It all starts with pressurizing the item you want to test. You fill it up with a tracer gas, like helium or hydrogen, and increase the internal pressure slightly. This pressure difference encourages the gas to escape through any tiny openings. Then comes the 'sniffing' part. An operator moves a sniffer probe, which is essentially a nozzle connected to a sensitive detector, around the exterior of the part. The detector is designed to pick up even tiny amounts of the tracer gas. As the probe passes over a leak, the tracer gas that has escaped is drawn into the probe and detected by the instrument. The instrument will then show a reading, often indicating the strength of the signal, which helps in locating the leak. This method is particularly good for finding very small leaks that might be missed by other tests. You can find out more about the basic sniffer method.
There are a few main reasons why companies use sniffer tests:
While the sniffer test is great for finding leaks, it's important to remember that the environment can play a role. Things like drafts or other gases in the air can sometimes make it harder to get a clear reading, so doing the test in a controlled space is usually best.
To get a good read on leaks, you need the right gear. It's not just about having a sniffer; it's about having calibrated, reliable equipment that talks to each other. Think of it like baking – you can have the best recipe, but if your oven is off or your measuring cups are wonky, the cake's not going to turn out right.
This is probably the most important step. Your leak detector is the brain of the operation, and it needs to be spot-on. It's calibrated to recognize the specific tracer gas you're using, whether that's helium, hydrogen, or a refrigerant. Some detectors are picky and only do one gas, while others can be set up for a few different ones. Without proper calibration, your results are basically guesswork. You're looking for a device that's sensitive enough for your needs but also stable and repeatable.
The sniffer probe is your hands-on tool. It's usually a wand-like attachment connected to the main leak detector. You manually move this probe along the seams, welds, and joints of the part you're testing. It's designed to suck in a small sample of the air around the component. If tracer gas is escaping from a leak, the probe picks it up and sends that signal back to the detector. The trick here is to move it slowly and methodically, getting close to the surface without actually touching it, to catch any escaping gas. It's pretty effective for finding even tiny leaks, especially when you're using something like helium.
Think of a calibrated leak standard as your reference point, like a tuning fork for an orchestra. It's a small device that releases a known, consistent amount of tracer gas. You use this to check if your leak detector is still reading accurately after it's been calibrated. It's a way to verify that the detector is performing as it should and that your results are reliable. This is especially important if you're doing a lot of testing or if the test conditions change. It helps maintain the integrity of your network monitoring and ensures you're not missing anything.
For places that make a lot of the same thing, like car parts or refrigerators, manual sniffing can be slow. That's where automated systems come in. These are often robotic arms or integrated systems that move the sniffer probe automatically. They're hooked up to computers and can do the same job much faster and with more consistency. This is super helpful for high-volume production lines where you need to test thousands of parts. They can be programmed to follow exact paths, making sure every spot is checked the same way every time.
When you're doing a sniffer test, you need something to sniff for, right? That's where tracer gases come in. These are special gases that you put into the system you're testing. If there's a leak, the tracer gas will escape, and your sniffer tool will pick it up. The type of tracer gas you use really matters, depending on what you're testing and how sensitive you need to be.
Helium is a really popular choice for sniffer tests, and for good reason. It's super tiny, like, the smallest inert gas atom out there. This means it can sneak through even the tiniest cracks and pinholes that other gases might miss. Plus, it's not going to react with anything in your system, and it's not toxic, so it's safe to use in most places. Helium is your go-to when you need to find really, really small leaks. It's used a lot in industries where even a microscopic leak can cause big problems, like aerospace and making medical devices.
Hydrogen is another gas you'll see used for leak detection. Now, pure hydrogen can be a bit of a fire hazard, so it's usually mixed with nitrogen. This mix, often called forming gas, is about 5% hydrogen and 95% nitrogen. This makes it much safer to handle. While hydrogen works well for finding leaks, this dilution means it's not quite as sensitive as pure helium, especially for those super-tiny leaks. It can also be a bit trickier to deal with background interference compared to helium.
If you're working on air conditioning or refrigeration systems, you've already got the tracer gas on hand: the refrigerant itself! Since these systems are already filled with refrigerant, it just makes sense to use that same gas to check for leaks. It simplifies the process because you don't need to introduce a new gas. This is a pretty straightforward approach for HVAC work.
So, why pick the sniffer test when there are other ways to find leaks? Well, it's got some pretty solid benefits that make it a go-to method for a lot of situations.
One of the biggest wins with a sniffer test is its ability to zero in on exactly where a leak is happening. Unlike some other tests that just tell you if there's a leak, the sniffer probe actively searches and signals when it gets close to escaping gas. This means you're not just guessing; you're getting a precise location. This is super helpful when you need to fix something quickly and don't want to waste time hunting around.
Let's talk about the wallet. Sniffer testing is generally pretty easy on the budget. You don't need massive, complicated machinery like vacuum chambers. The equipment, especially the sniffer probe itself, is relatively straightforward and doesn't break the bank. Plus, setting it up is usually a breeze, which is great if you're doing tests in the field or need to get things done fast. It's a practical choice for many businesses.
This test isn't a one-trick pony. It works with different tracer gases, like helium or hydrogen, depending on what you're testing and how sensitive you need to be. Whether you're checking a tiny medical device or a large industrial component, the sniffer test can be adapted. It's used in everything from car air conditioning systems to complex aerospace parts. The ability to detect fentanyl in seconds with portable devices also shows how versatile leak detection technology is becoming.
Sometimes, leaks are so small you can barely see them, or they're in really awkward spots. That's where the sniffer test shines. With the right tracer gas, like helium, and a well-calibrated detector, you can find incredibly tiny leaks – we're talking about leaks in the range of 1.6x10⁻¹ to 1x10⁻⁵ standard cubic centimeters per second. This level of sensitivity is vital for industries where even the smallest escape of gas can cause big problems, like in medical equipment or high-tech manufacturing.
The sniffer test is a practical and effective method for leak detection, particularly valued for its direct location identification and relatively low setup costs. Its adaptability to various tracer gases and component sizes makes it a versatile tool across many industries, especially when pinpointing small leaks is a priority.

While sniffer tests are pretty handy for finding leaks, they aren't perfect. You've got to be aware of a few things that can trip you up or make the test take longer than you'd like. It's not always as straightforward as just waving a probe around.
One of the biggest headaches with sniffer tests is the possibility of getting a false positive. This happens when the tracer gas, like helium, doesn't stay put right at the leak. It can drift around in the air, especially if there's a breeze or if the part you're testing has lots of nooks and crannies. So, your sniffer might pick up gas that escaped from the actual leak point a while ago and traveled a bit. This can make it seem like there's a leak where there isn't one, or at least make it way harder to pinpoint the exact spot. It's like trying to find a specific whisper in a noisy room; the sound just gets jumbled up.
Funny enough, really big leaks can also be a problem. If a part has a massive hole, the tracer gas will just blast out of it way too fast. The sniffer probe might not be able to keep up, or the gas might disperse so quickly that you miss it entirely. It's like trying to catch a waterfall with a teacup. Sometimes, you might need to temporarily block off any obvious large leaks before you start sniffing the rest of the part to get accurate readings on the smaller ones.
Getting good results really depends on how sensitive your detector is and how well it's calibrated. For tiny leaks, the ones you really need to worry about in sensitive applications like medical devices, you need a top-notch detector. And it's not a one-and-done thing. You have to make sure that detector is calibrated regularly using calibrated leak standards. If the calibration is off, or if the detector isn't sensitive enough, you might miss leaks or get readings that aren't reliable. It's a bit like trying to measure something with a ruler that's stretched out – your measurements just won't be right.
When you're dealing with parts that have a lot of joints, welds, or intricate shapes, sniffer testing can take a significant amount of time. You can't just scan the whole thing at once. You have to methodically move the probe slowly and deliberately over every potential leak point. This means covering a lot of ground, sometimes inch by inch, to be sure you haven't missed anything. For really complicated assemblies, this can turn into a pretty lengthy process, especially if you're aiming for a very low leak rate.
It's important to remember that sniffer testing is often a qualitative test. While it's great at showing you if there's a leak and roughly where, getting an exact measurement of the leak rate can be tricky. The amount of gas you capture with the probe depends on many factors, including how fast you move, the probe's flow rate, and the geometry of the leak itself. So, while it's a powerful tool for detection, don't expect it to always give you precise quantitative data without additional setup or different testing methods.
Alright, so you've got your sniffer tester ready to go, but how do you make sure you're actually finding those leaks and not just chasing ghosts? It's all about the little things, the habits you build during the test. Getting it right means you can trust your results and fix what really needs fixing.
This is a big one. Think about it: if there's a breeze, it's going to blow that tracer gas all over the place. You might get a blip on your detector, but it could be from gas that drifted way from the actual leak. Try to test in a spot where there's not much air moving around. If you've already plugged a leak and are re-testing, sometimes just opening a window for a bit can clear out any lingering gas and give you a cleaner reading for the next go.
Before you even start sniffing, you gotta make sure the inside of the part is ready. If you're using helium, for example, you want to get that tracer gas inside the part. If there's still a bunch of regular air trapped in there, especially in tiny passages, it can act like a barrier. This means the helium might not even get to the leak point. So, give the part a good purge or evacuation with the tracer gas first. It makes sure the gas can actually reach any potential leaks.
Remember that helium and hydrogen are lighter than air? That means they tend to rise. So, when you're scanning with your sniffer probe, it makes sense to start at the bottom of the part and work your way up. This way, if you find a leak, you're more likely to find it at its actual source. If you find a big leak down low, you might need to temporarily seal it off so you can accurately check the rest of the system. It's a bit like cleaning – you start from the top and work down, but with gas, it's the other way around.
Don't just zip the probe around like you're trying to win a race. Especially for those really tiny leaks, you need to be slow and steady. The detector might not react the instant the gas hits it; sometimes, it takes a second or two. If you move too fast, you'll miss it. Keep the probe close to the surface and pay attention to any changes in the detector's reading, even if it's just a slight waver. It's better to take a little longer and be sure.
This ties back to airflow and purging, but it's worth its own point. You don't want old tracer gas hanging around from a previous test, or from the general environment, messing up your current reading. After you're done, make sure to vent the part properly. Also, be mindful of where you're storing your equipment and parts. You don't want a bunch of helium floating around your workshop all the time. Keeping things clean and controlled helps avoid those annoying false positives. It's also a good idea to periodically check your setup with a calibrated leak standard to make sure everything is still reading accurately.
Sniffer testing isn't just for a few niche industries; it's actually used all over the place where keeping things sealed up tight is super important. Think about it – if something's supposed to hold air, gas, or liquid, you really don't want it leaking out, right? That's where the sniffer test comes in handy.
In the car world, sniffer tests are a big deal, especially for things like air conditioning systems. These systems use special gases, and you definitely don't want those escaping into the atmosphere. Plus, fuel lines and other pressurized components can be checked to make sure there are no sneaky leaks that could cause problems or be a safety hazard. It's all about making sure the vehicle is safe and performs as it should.
When you're dealing with airplanes or medical equipment, the stakes are incredibly high. A tiny leak in an oxygen line on a plane or in a device that delivers medication could have serious consequences. That's why industries like aerospace and medical device manufacturing rely heavily on sniffer tests, often using highly sensitive gases like helium. They need to be absolutely sure that even the smallest leaks are found and fixed before these products get into the hands of consumers or passengers.
If you've ever had your air conditioner serviced or bought a new refrigerator, you've probably benefited from sniffer testing. These systems are filled with refrigerants, which are gases that need to be contained. Sniffer tests are a common way to check for leaks in these systems. Sometimes, they even use the refrigerant itself as the tracer gas, which makes a lot of sense since it's already in the system. It's a practical way to keep these appliances running efficiently and safely.
So, we've gone over what a sniffer test is, how it works, and why folks use it. It's a pretty handy way to find leaks, especially when you need to know exactly where the problem is. While it's not perfect and sometimes takes a bit of patience, especially with really tiny leaks or big parts, it's a solid tool in the quality control toolbox. By following some basic tips, like keeping the area clear of drafts and moving the probe slowly, you can get more reliable results. It's a method that's been around and continues to be useful across different industries, from cars to medical gear, proving its worth in making sure things don't leak when they shouldn't.
A sniffer test is a way to find tiny holes or leaks in things like pipes, tanks, or car parts. Imagine you're looking for a small hole in a balloon. You'd fill it with air and then listen or feel for where the air is escaping. A sniffer test does something similar, but uses a special gas and a sensitive detector.
First, the item being tested is filled with a special gas, often helium because it's very small and can sneak through tiny openings. Then, a tool called a 'sniffer probe' is moved around the outside of the item. If the probe gets close to a leak, it detects the special gas escaping and alerts you, showing you exactly where the problem is.
Helium is a top choice because it's super tiny and doesn't react with anything, making it safe and great for finding even the smallest leaks. Sometimes, a mix of hydrogen and nitrogen is used, or even the refrigerant gas already in systems like air conditioners.
Sniffer tests are great because they can point out the exact spot of a leak, which is super helpful for fixing it. They are also usually less expensive than other methods because you don't need big, fancy machines. Plus, they work on lots of different things, from car parts to medical devices.
Sometimes, the special gas can drift away from the actual leak, making it a bit tricky to find the exact spot, especially if there's a lot of air moving around. Also, if a leak is really huge, the gas might escape too fast to be easily detected. It can also take a bit longer if the item you're testing is very complicated.
To get the best results, try to do the test in a place with very little wind or air movement. It's also smart to start checking from the bottom of the item and move upwards, because the special gases used are often lighter than air. Moving the sniffer probe slowly and carefully is key to not missing any small leaks.