[ newsletter ]
Stay ahead of Web3 threats—subscribe to our newsletter for the latest in blockchain security insights and updates.
Thank you! Your submission has been received!
Oops! Something went wrong. Please try again.
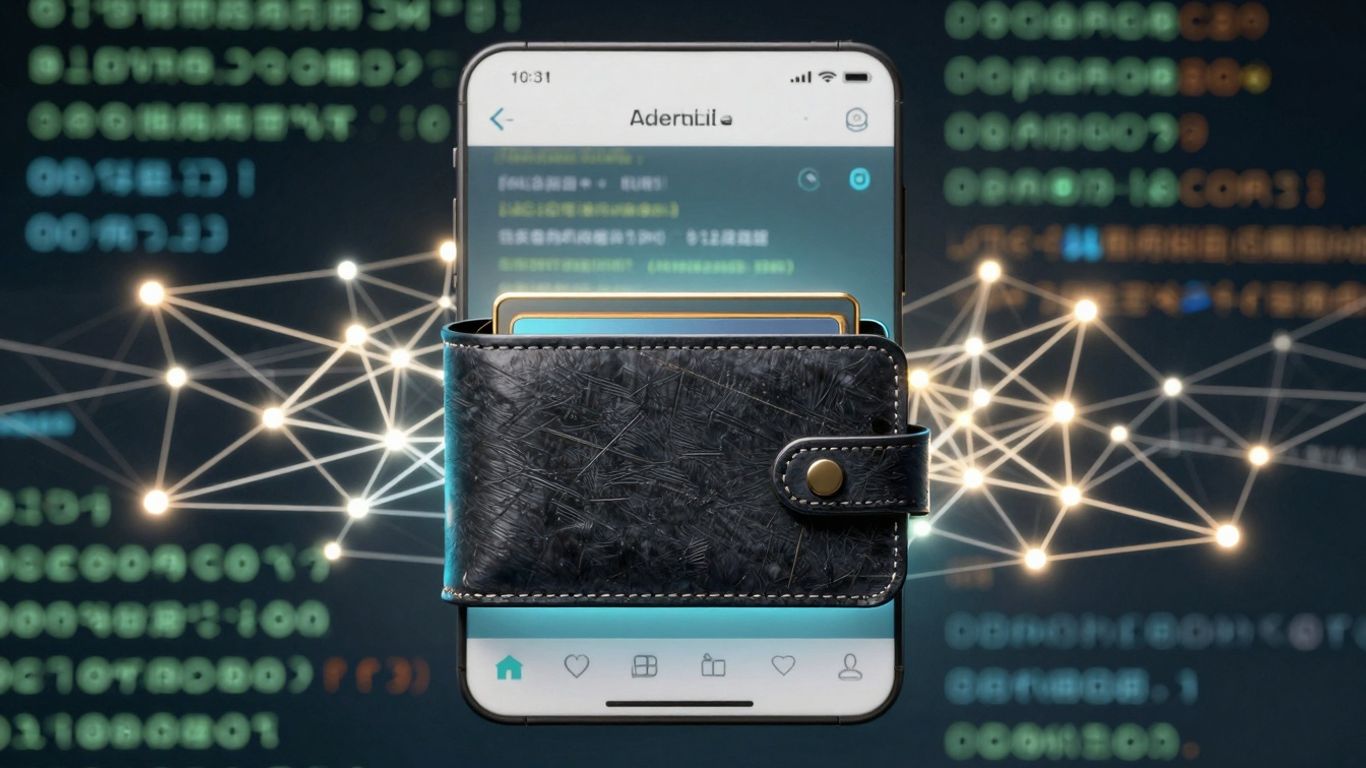
Quickstart guide to the JavaScript SDK for Wallet Risk. Learn to integrate, implement checks, and leverage advanced features for robust wallet security.


Alright, let's talk about keeping your digital assets safe. If you're building apps that deal with crypto wallets, you know security is a big deal. That's where a solid JavaScript SDK for wallet risk comes in handy. It's like having a security guard for your transactions, helping you spot trouble before it happens. This guide is all about getting you up and running quickly with such a tool, so you can add that extra layer of protection without a whole lot of fuss.
So, you're building something cool with crypto, and you want to make sure it's safe, right? That's where understanding wallet risk comes in. It's not just about preventing hacks; it's about making sure your users and your platform are protected from all sorts of shady stuff. Think of it like having a really good security guard for your digital assets. This JavaScript SDK is designed to give you the tools to do just that, right within your application. It helps you spot potential problems before they become big headaches.
This SDK isn't just a one-trick pony. It's packed with features to help you get a handle on wallet risk:
Before we jump into the code, let's quickly cover some of the main ideas behind assessing wallet risk. It's a bit like understanding the different types of bad guys out there:
The goal is to build a layered defense. No single tool is a magic bullet, but by combining real-time checks, historical data analysis, and behavioral pattern recognition, you create a much stronger security posture. This SDK is your partner in building that robust defense.
Assessing risk isn't always straightforward. For instance, smart contract vulnerabilities can be tricky to spot, and attackers are always finding new ways to exploit them. The SDK helps by providing data points that can indicate potential issues, allowing for proactive measures. You can check out how to build secure dApps with risk assessment integrated, which gives you a good starting point for understanding these concepts in practice. AML and CFT regulations are also a big part of this, and the SDK can help you meet those requirements by flagging potentially problematic wallets.

Alright, let's get this show on the road and integrate the JavaScript SDK for wallet risk assessment into your project. It's not as complicated as it might sound, and we'll break it down step-by-step.
Before we dive in, make sure you have a few things squared away. This will make the whole process much smoother.
node -v and npm -v in your terminal.async/await), will be beneficial.Getting the SDK into your project is pretty straightforward. We'll use npm (or yarn, if that's your preference) to install the necessary packages.
mkdir my-wallet-risk-appcd my-wallet-risk-apppackage.json file to manage your project's dependencies.npm init -ynpm install @your-org/wallet-risk-sdk@your-org/wallet-risk-sdk with the actual package name if it differs.)dotenv.npm install dotenv --saveTo use the SDK, you'll need to configure it with your API credentials. This is how the SDK authenticates your requests to our service.
YOUR_API_KEY_HERE and YOUR_API_SECRET_HERE with your actual credentials.dotenv, you can load these variables into your application like this:With these steps completed, your JavaScript SDK should be set up and ready for you to start performing wallet risk checks.
Now that you've got the SDK set up and your API keys ready, it's time to actually put it to work. This section walks you through how to check wallet addresses for potential risks and what to do with the information you get back. It's all about making sure your platform stays safe and compliant.
Checking a wallet address is pretty straightforward with the SDK. You'll send the address and the blockchain it's on to the service, and it'll come back with a risk assessment. Think of it like a quick background check for a digital wallet.
Here's a basic idea of how you'd do it in code:
import axios from "axios";const options = { method: "POST", url: "https://api.circle.com/v1/w3s/compliance/screening/addresses", headers: { Authorization: "Bearer YOUR_API_KEY", // Remember to replace with your actual key "Content-Type": "application/json", }, data: { idempotencyKey: "a-unique-id-for-this-request", // Use a unique key for each request address: "0x123...abc", // The wallet address you want to check chain: "ETH-MAINNET", // Or "MATIC-MAINNET", "ARBITRUM-MAINNET", etc. },};axios.request(options) .then(function (response) { console.log("Screening Result:", response.data); }) .catch(function (error) { console.error("Screening Error:", error); });The key is to send the correct address and chain parameters. The idempotencyKey is important too; it stops you from accidentally making the same check twice if there's a network hiccup.
When you get a response back from the screening service, it's not just a simple yes or no. You'll get a result (like "ALLOW" or "DENY") and a decision object that gives you more details. This decision object is where the real insights are.
Here's what you might see:
result: This is the main outcome. It could be "ALLOW" (meaning the address seems okay for now) or "DENY" (meaning there's a potential risk).decision.ruleName: Tells you which specific rule or list triggered the decision (e.g., "Circle's Sanctions Blocklist").decision.actions: A list of recommended actions based on the risk. This could include things like "FREEZE_WALLET", "DENY", or "REVIEW".decision.reasons: This is a more detailed breakdown of why the address was flagged. It includes the source (like "ADDRESS"), the sourceValue (the actual address), a riskScore (which could be "BLOCKLIST" or something more nuanced), and riskCategories (like "SANCTIONS" or "ILLEGAL_ACTIVITY").It's super important to look at these details. Just knowing an address is "DENY" isn't as helpful as knowing why it's denied and what actions are suggested.
Understanding the riskCategories and actions allows you to build automated workflows that respond appropriately to different risk levels, from blocking transactions to flagging for manual review.
So, you've screened an address and got a result. What next? You need to connect this to what your users are actually trying to do, like sending funds or interacting with your platform. This is where you build logic into your application based on the screening outcome.
Here’s a simplified example of how you might handle a "DENY" result:
function handleScreeningResponse(response) { if (response.data.result === "DENY") { const rule = response.data.decision.ruleName; const actions = response.data.decision.actions; console.log(`Wallet flagged: ${rule}. Recommended actions: ${actions.join(', ')}`); if (actions.includes("DENY")) { // Block the transaction immediately alert("Transaction denied due to risk assessment."); // Prevent the transaction from proceeding } else if (actions.includes("REVIEW")) { // Flag for manual review by your team console.log("Wallet requires manual review before proceeding."); // Add to a review queue or notify an admin } else if (actions.includes("FREEZE_WALLET")) { // Take action to freeze wallet activity if possible console.log("Wallet activity should be frozen."); // Implement logic to restrict wallet operations } } else { // If result is ALLOW, proceed with the transaction console.log("Wallet screening passed. Proceeding with transaction."); // Allow the transaction to continue }}This kind of logic means your application can react intelligently. If an address is flagged for sanctions, you can automatically block it. If it's flagged for a less severe risk, you might queue it for a human to look at. This integration is key to proactively managing risk.
Testing with Simulated Risks
To make sure your integration works correctly, you can use special test addresses that are designed to trigger specific risk scenarios. For example, adding 9999 to the end of an Ethereum address often simulates a "Sanctions Blocklist" hit, while 8888 might simulate a "Frozen User Wallet". This is super handy for testing your logic without affecting real users or hitting actual blocklists.
Using these test addresses helps you validate that your system correctly identifies and responds to different types of risks before you go live.
Beyond the basic wallet screening, our JavaScript SDK offers some pretty neat advanced features to really beef up your security game. Think of these as the power-ups that let you handle more complex situations and stay ahead of potential trouble.
We're not just talking about a simple yes/no risk assessment anymore. The SDK can tap into dynamic 'Trust Scores' for both wallets and smart contracts. These scores are generated by analyzing a ton of on-chain data – things like transaction patterns, network relationships, and overall behavior. It's like having a constantly updated reputation score for every digital entity you interact with. This helps you spot risky actors before they become a problem, not just after something bad happens. For instance, a wallet with a consistently low trust score might indicate a history of suspicious activity, even if it hasn't triggered a direct alert yet. You can integrate these scores directly into your application to flag or block interactions with entities that fall below a certain threshold. This proactive approach is a game-changer for maintaining a secure ecosystem.
Okay, so what happens if the worst-case scenario occurs and a user's wallet is compromised? Traditional recovery methods can be a nightmare, especially with bots that snatch up any funds sent to a compromised wallet for gas fees. Our SDK integrates with advanced wallet recovery solutions that use techniques like Flashbots. This allows for the bundling of funding and asset transfer transactions into a single, private package submitted directly to miners. This bypasses those pesky bots entirely, offering a much higher chance of recovering trapped assets. It's a critical feature for incident response, giving users a lifeline when their funds are at immediate risk.
Here's a simplified look at how the recovery process works:
Staying compliant and informed is a constant challenge. The SDK can help automate parts of this. For example, it can integrate with blockchain analytics platforms to monitor for unusual patterns, multi-wallet layering, or cross-chain transfers that might signal illicit activity. You can set up real-time alerts based on specific risk thresholds or detected suspicious behaviors. This means your team gets notified instantly when something needs attention, rather than having to manually sift through data. This automation is key for keeping up with the fast-paced world of digital assets and blockchain development tools. It helps ensure you're not only meeting regulatory requirements but also reacting swiftly to emerging threats.
Managing wallet risk effectively is super important for keeping your platform and users safe. It's not just about setting things up and forgetting about them; it's an ongoing process. Think of it like maintaining your house – you wouldn't just build it and never check for leaks or loose tiles, right? The same applies here.
First off, your API keys are like the master keys to your kingdom. You absolutely have to keep them locked down. Don't ever hardcode them directly into your frontend code where anyone can see them. Use environment variables or a secure secrets management system. If you're using a service that provides wallet risk scores, make sure you understand their security protocols. For instance, if you're integrating with a service that screens addresses, treat those API keys with the same care you'd give to your bank account password. It's also a good idea to rotate your keys periodically, just as an extra layer of protection.
Setting up alerts is your early warning system. You want to know immediately if something looks fishy. This means configuring your system to notify you when a wallet hits a high-risk score or triggers a specific rule, like being on a sanctions list. You can set up different alert levels based on the severity of the risk. For example, a wallet flagged for manual review might trigger a different alert than one that's outright denied for transactions. This helps your team prioritize and respond quickly. It's also smart to monitor the performance of your risk checks themselves – are they catching what they should be? Are there false positives?
The world of crypto is always changing, and so are the ways bad actors try to exploit systems. Your risk management strategy needs to keep up. This involves regularly reviewing the data from your wallet screenings and looking for new patterns or emerging threats. If you're using a service that provides risk scores, see if they offer ways to customize or fine-tune the models based on your specific business needs. Sometimes, you might need to adjust thresholds or add custom rules. For example, if you notice a new type of scam becoming prevalent, you'll want to update your checks to catch it. It's a cycle: check, analyze, update, repeat. This proactive approach is key to staying ahead.
Keeping your wallet risk management up-to-date isn't a one-time task. It requires constant vigilance and adaptation to new threats and technologies. Regularly reviewing your security measures and updating your strategies based on real-world data and emerging trends is vital for maintaining a secure and trustworthy platform.
So, that's the basic rundown on getting started with the JavaScript SDK for wallet risk. We've covered the initial setup and some core functionalities. It's a pretty straightforward way to start integrating risk assessment into your applications. Remember, this is just the beginning, and there's a lot more you can explore with the SDK to really beef up your security. Keep experimenting and building!
It's a tool that helps developers check if a digital wallet is safe to use. Think of it like a security guard for your app that checks if a wallet looks suspicious before it does anything important.
This SDK helps protect your app and its users from risky wallets that might be used for bad things, like stealing money or cheating. It's like having an early warning system.
First, you'll need to get set up with the basics, like having Node.js ready. Then, you'll install the SDK and give it your special API keys so it can talk to the service.
It means figuring out how likely a wallet is to be involved in something bad. This could be due to its past actions, how it's connected to other wallets, or if it's known for risky behavior.
While the SDK is great for checking wallets *before* they cause trouble, there are also tools that can help recover assets from compromised wallets using special techniques, like bundling transactions to bypass nasty bots.
The SDK is designed to be user-friendly. With clear steps for installation and setup, and simple ways to check wallets, even beginners can get it working fairly quickly.